Sunday, December 18, 2011

Kransekake Sticks another Bakers Odyssey!

I belong to a few Norwegian groups on Facebook. They are groups where people share their heritage and their recipes. This was posted on a site and I knew I had to try them. I love Kransekake and add the dipping of chocolate and I was sold. So I set out to make them. What I thought would be a relatively simple task....Baking is my thing... has turned into a journey of sorts. 

The recipe is so simple just 3 ingredients what could go wrong?  Here is the Recipe from M.F. Scott as posted...

****Beware read this whole article before trying these cookies...learn from my mistakes!!!!


Kransekake sticks


1 lb finely ground almonds

1 lb powdered sugar

3 egg whites

Mix the ingredients into a dough and place in the fridge overnight.

Roll the dough so that it's the size of a finger and cut into 3 inch long sticks

Bake for ten minutes at 350 degrees.

Once they've cooled down dip half of the stick into melted dark chocolate.

* Sometimes, after dipping in the chocolate, I'll have extra ground almonds that I'll dip the chocolate end into, just makes them a little more festive.

So I whipped out my handy food processor and ground those almonds up to what I thought was finely ground. And stuck it in the fridge over night.
 

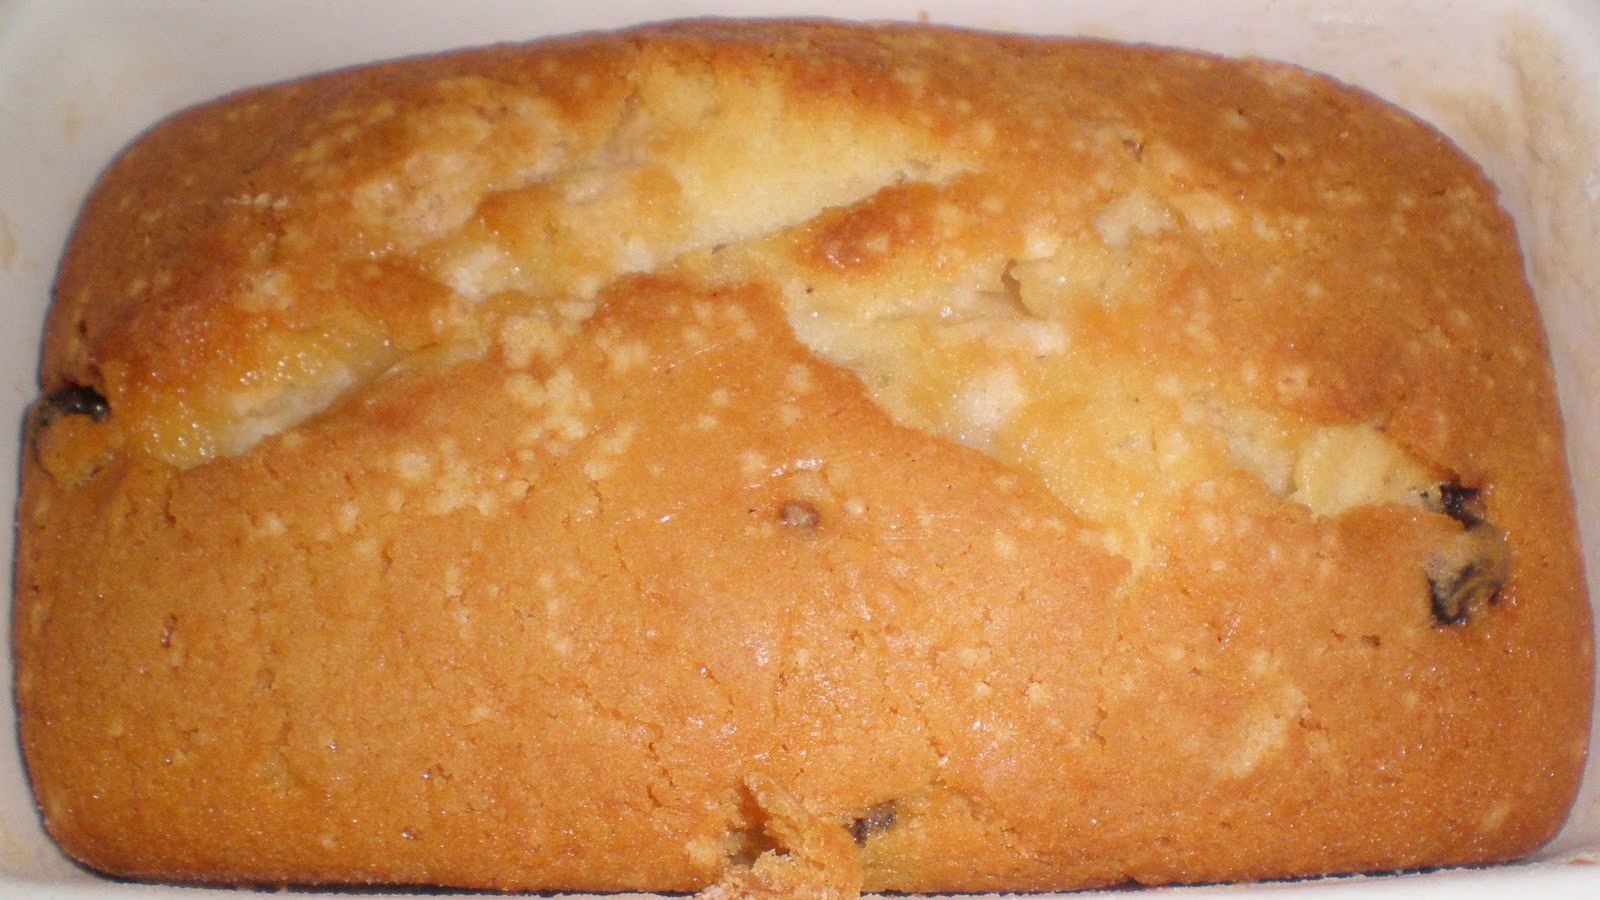
The next day I'm all excited to get started with rolling these puppies out...I was dreaming of Kransekake all night. So I roll them out about the size of a finger...my index finger seemed like a good choice cut them to  3 inches... put them on a cookie sheet and poped them into the oven.


Now I've seen and eaten Kransekake sticks before so I know what they look like so when I opened the oven to take the cookies out I almost died... sorry I don't have a pic of this I was too much in shock.. My cookies had expanded soo much they were stuck together and all strangely shaped... ugh! I guess I picked the wrong finger. So the next batch I decided to roll out much thinner... the size of my pinkie finger and keep the cookies much further apart.
 

I put them in the oven again. This time they look a bit better but I know they still don't look like the Kransekake sticks I've seen.


But they tasted delicious (my husband and son ate the first sheet  no chocolate needed)...so I finished up the dough and figured once I dip them in chocolate I could hide some of the funny shapes and like I said they tasted delicious!

Now another person on the site also tries the recipe and posts a picture of her cookie asking if that is how they are supposed to look. And what do my eyes see... squiggly cookies that look like mine. So i say to myself OK Christine something is not quite right. Mind you it's 11:00 PM and I decide to search the internet to see what the heck is going on, is it the recipe..but they taste great...so I search the net to see what I can find.

This video sent me on my next quest:
A Baker's Odyssey "Kransekake" Recipe


OK so now I know what I did wrong what I thought was finely ground almonds were not fine enough. I don't own one of those nut grinders but I was sure in my arsenal of kitchen gadgets I must have something that will grind up those almonds fine enough! So out comes the Kitchen Aid and the special food grinder attachment..


In go the almonds and out comes...not what I'm looking for...and the grinder jammed up..oops! Ok what do I try next out comes the Kitchen Aid coffee grinder thin I bought for grinding up spices...


Another no go the results were worse than the food grinder and mind you its now 1:00 AM... my family is trying to figure out what the heck is she doing down there at 1 in the morning. So I go an view the video again...hum I think to myself I have a Pampered Chef cheese grinder that  sort of looks like part of that nut grinder thing so into the closet I go and pull that baby out!


What did I have to lose at this time of night and it was the last thing in my grinding arsenal! So in went the almonds and low and behold out came.... finely ground almonds... woo whoo!....maybe not as fine as the video but closer than anything I was able to achieve with anything else!

Now I'm thinking to myself I don't think Pampered Chef had almonds in mind for this greater..I hope it holds up..and am I going to do a pound of almonds this way? Well the answer was no way so I decided to halve the recipe. Buy the time I was done with the dough it was 2:00 AM but I was happy!


Kransekake Sticks

1/2 lb finely ground almonds (almost like a powder see pic above)

1/2 lb powdered sugar

1.5 ounces egg whites ( the whites from 1 1/2 eggs)

Optional about 9 oz. of good quality chocolate to dip the ends in.
*****************************************************

Finely grind the almonds so they are almost...I did say almost.... like a powder.
Add the ground almonds to the powdered sugar and mix buy hand till combined. Then put in the bowl of your food processor ...turn on and add the egg whites... process till combined. Put in a covered container and refrigerate over night.

Taking small portions of dough...Roll so that it's about the thickness of a pencil and cut into 3 inch long sticks. Place on parchment lines baking sheets..do not put them too close together!!!!


Bake for 6-7 minutes at 350 degrees. Start rolling out your next sheet while your first pan is baking.

Remove from baking pan to cooling rack.


As you can see they are still a bit squiggly but look sooo much nicer when you get the nuts ground to the right consistency!

Once they've cooled down  you candip half of the stick into melted dark chocolate. I am fussy about my Chocolate being an Official Chocoholic so I used Lindt for these I like the taste and consistency of the chocolate when it is melted.


Chop up the chocolate and melt in the microwave. I do  1/2 the chocolate at a time. Zap it for 30 seconds them mix and another 30 seconds mix and you should be good to go!


Once the chocolate has hardened store in an airtight container till ready to eat. This recipe even though it was 1/2 of the original made 50 cookies!

Also... if you are going to freeze them do not dip in chocolate...I did this and they get a blush on the chocolate..live and learn!

 A side note from the owner of the original recipe:
* Sometimes, after dipping in the chocolate, I'll have extra ground almonds that I''ll dip the chocolate end into, just makes them a little more festive.

Good Luck on your Kransekake Odyssey!!!!!!!


Pin It

Sunday, December 4, 2011

Jam Filled Cream Cheese Cookies

When I was a kid my mom always made a cookie she called Cookie Bows. They were a cream cheese  cookie filled with jam. I had never made them. Then in 2009 a friend gave me a subscription to Everyday Food and on the cover was an intriguing cookie on the cover...I just had to make and low and behold they ended up being cream cheese cookies. My Mom made them in a bow shape but I love how they look when made with a star shaped cookie cutter!

Jam filled Cream Cheese Cookies

Ingredients:

8 ounces bar cream cheese softened
1 stick unsalted butter room temperature
1/3 cup sugar
2 cups all-purpose flour

1/2 teaspoon coarse salt
2 egg yolks
Jam- your choice of flavors


Directions:

In a large bowl beat cream cheese, butter, and sugar until light and fluffy. With mixer on low, add flour and salt; beat until just combined.

Divide dough into 3 portions; flatten each into a disk. Wrap in plastic wrap and refrigerate at least 20 minutes an hour is better!

                                     
Preheat oven to 375 degrees. Mix egg yolks with 1 teaspoon water.


Working with 1 dough sheet at a time, roll dough out on a very lightly floured surface to 1/8 inch thick.


Using a 3 inch star-shaped cookie cutter, cut out cookies.


Spoon 1/4 teaspoon jam into center of each.....


and brush exposed inside dough with egg wash.


Shape cookies by bringing the points of the star together in the center of the cookie twist and gently push down.

Place on parchment lined cookies sheets, 2 inches apart,and refrigerate 20 minutes (re-roll scraps).


Repeat  above with with each disk. I use a different flavor jam for each disk. This year I used Seedless Raspberry Jam, Apricot Jam , Seedless Blackberry Jam  and  Cognac Vanilla Peach Jam!
After 20 minutes take cookies out of fridge brush outside with egg wash and sprinkle with finishing sugar course sugar.


Bake until cookies are light golden brown, about 15 minutes, rotating sheets halfway through. Let cool completely on wire racks.

If you work at an even pace, buy the time you fill up a cookie sheet with cookies and refrigerate for the 20 minutes begin working on the next batch. When the next sheet is done it should be 20 minutes pop one cookie sheet into the oven and the next into the fridge.

These cookies are worth the time.... they look beautiful and taste great. And don't worry a few might pop open on the top... those are the ones you get to eat right away!!!!

Friday, December 2, 2011

Sosterkake

Well I'm busy writing this post late at night because I made a big oops! While at the Son's of Norway meeting tonight a member asked for my Sosterkake recipe. No problem I tell her(that's you Janet O) I'll mail you the link to my blog the recipe is on there. Well low and behold I never posted it so Janet O. this is for you!


Sosterkake

Ingredients:


1 cup butter (room temp/softened)
2 eggs

3 cups flour

2 cups sugar

12 ounces evaporated milk

2 teaspoons baking powder

1 1/2 teaspoons cardamon

1 - 1 1/2 cups dried fruit
( traditionally raisins but I make up my own variations such as cranberries and apricots,wild blueberries, currents or golden raisins the choice is yours)

also optional is 1 teaspoon almond extract

Directions:

Pre-heat oven to 350 degrees.

Grease and flour 2 bread pans.

Cream together butter eggs and sugar till well mixed.

Add flour and baking powder mix till well blended.

Slowly add the evaporated milk.

When all combined add you choice of dried fruits...if you are using large fruits like apricots cut them up into small pieces.

Bake for 1 hour.

Cool and enjoy!!!


Santa says…. shhh… Little Jax! My Grandsons first visit with Santa!

Tuesday, November 29, 2011

Cocoa Snowflakes

This recipe should be on everyone's list of Christmas cookies or any time cookies. They are so good like eating mini brownies! My husband found this recipe in a Penzey's Spice catalogue years ago. Once I started making these I gave up my regular snowball cookie recipe! The recipe calls for nuts but I never use them.
Let me just warn you the dough must chill at least three hours! Even then if the dough starts to get soft put it back in the fridge for about 10 minutes.


Cocoa Snowflakes


5 tablespoons butter


6 Tablespoons Coco powder


1 cup sugar


1 eggs


1 cup flour

1 Teaspoon vanilla


2 extra large


1/4 teaspoon salt


1 teaspoon baking powder


1 cup finely chopped nuts-optional


In a small sauce pan melt the butter. Blend in the coco powder till smooth, remove from heat. Add the sugar and mix till smooth then transfer to a medium bowl.

Add vanilla and eggs one at a time mixing well.

Sift together into the mixture above the flour salt and baking powder till well combined. Add nuts if desired.

Cover and refrigerate till well chilled at least 2 hours or more.

When dough is ready roll into 3/4 inch balls. Roll balls in powdered sugar. Put on cookie sheet 2 inches apart. Bake 5-8 minutes.

Makes about 45 cookies. Store in airtight container or freeze.

Monday, November 28, 2011

Kringla Swedish Wreaths

I found this recipe a few years ago, of all places, on food network. I wanted to try more Scandinavian cookies for Christmas.They sounded interesting and something different so I decided to give them a try. They have been on my list of Christmas cookies since.


Kringla Swedish Wreaths

2 sticks of butter Softened

1/2 cup sugar

2 egg yolks

2 1/2 cups flour

Egg wash (whisked egg whites)


Cream the butter, sugar and egg yolks in a medium bowl. Blend in the flour. Gather the dough into a ball , wrap in plastic wrap and chill.

After dough has chilled ,Preheat the oven to 350 degrees. Line cookie sheets with parchment paper. You'll be glad you did!

Using a small cookie scoop, scoop out a round ball, not too big. Roll out between about 5-6 inches long and 1/3-inch thick. At this point they can be either formed into a circle and twist or knot the ends. Continue until all the dough has been used.

Carefully brush each cookie with the egg white wash, don't be too sloppy with the wash you don't want your cookies to stick. Sprinkle with parl sukkar (pearl sugar) and bake for 10 to 12 minutes, until just set, not browned. I rotate the cookie pan 1/2 way through the cooking time for even baking. Remove carefully from cookie sheet right away to cooling rack.

Store in airtight container or freeze.

Sunday, November 27, 2011

Sandkaker A Traditional Norwegian Christmas Cookie

This is my first try at making Sandkaker,a traditionl Norwegian Christmas Cookie. They are like mini tarts and are filled with flavored whipped cream whan ready to be eaten. We always made Cloudberry Cream to fill ours with or you can eat them just as they are!


This recipe is from my mother-in-law...it was one of the cookies she usually made but since she is no longer with us I have to start baking them for my family. To make these cookies you need Sandkaker molds also known as mini-tartlet pans. I'm not sure where mine came from...but I'm sure you can find them somewhere on the net. My mother-in-law had bright shinny ones...mine are non-stick and work great! I had bought them years ago to make mini-tarts...glad I did!


There are six different shapes of tins in my set or sets...not sure if I have more than one set but I do have alot!


SANDKAKER


2 sticks of butter room temperature

1 cup sugar

2 1/2 cups flour

1 egg

1 teaspoon almond extract


Pre-heat oven to 350 degrees.

Cream together butter and sugar till light and fluffy. Add egg and almond extract and mix till combined. Add flour gradually ..mix well. Refridgerate dough for about an hour.

Using a small cookie scoop, scoop out a ball of dough.


Press into mold making sure its not too thick on the bottom.


When your molds are filled put them on a cookie sheet and bake from 12-15 minutes. I always turn my cookie sheets 1/2 way through cooking time for more even baking. They should be slightly browned around the edges.


Remove the tins/cookies from the cookie sheet and put them on a cooling rack upside down. Let them cool for about 4 minutes tap bottoms lightly with a knife and cookies should come right out.


If you don't have many molds you will have to wait for the molds you used to compleatly cool before you do the next batch so make sure you have plenty of molds!

Store in an airtight container or put in the freezer till you need them. Makes about 40 cookies.

Links to molds:

Shinny Molds

More shinny molds

Non stick mold set

Wednesday, November 9, 2011

Norwegian Krumkake Cookies

One of the first Norwegian cookies I made after marrying a Norwegian was Krumkake. The recipe was given to me by his Mom. Krumkake is a waffle cookie made of flour, butter, eggs, sugar, and cardamon. They are traditionally made during the Christmas season but I make them for special occasions and they are always a hit.


You do need a  special decorative two-sided  Krumkake iron ,similar to a waffle iron, to make these delicious cookies. It is well worth the investment...I've had mine for years... I've gone through many heart waffle irons but my krumkake iron takes a lickin and still keeps on ticken!


Krumkake

5 eggs
1 cup sugar
1 cup melted and cooled margarine ( yes that's what I said trust me!)
1 cup flour
cardamon to taste

In a bowl or 4 cup measuring cup (that's what i use), beat the eggs.

Gradually add the sugar and mix well.

Gradually add the margarine and mix well.

Add the flour slowly then cardamon ( I don't measure mine I go by smell but maybe about 1/2 teaspoon)

Now cover the batter and put it in the fridge for about 1/2 hour.

Plug in and heat up your iron, be careful it doesn't get too hot or your first two krumkake will be burnt...it's happened to me many times. Using a regular old teaspoon from your silverware drawer,spoon batter onto the center of the iron. Close iron, squeezing handles together  to spread the batter. You don't want the batter to squeeze out, but if you put on the right amount it shouldn't happen. You don't want fat Krumkake!


Now if you listen to the directions from your Krumkake iron they tell you to watch the light when it either goes on or off your krumkake are done...I go buy the amount of steam coming out of the iron. When you first close and squeeze the handles together lost of steam come out when it slows down I open up the iron they are usually just right.


Moving quickly take the cookie from the Krumkake iron and roll quickly (while hot) around the Cone Form. I have two since it makes two at a time and invest in wooden cones the plastic ones are the pits!
Start your next two cookies, while they are cooking,(it doesn't take long) pull the first two cookies off the cones and place on paper towels to cool off.


Makes between 5 and 6 dozen krumkake.


When I serve my krumkake I whip up some heavy cream and add Cloudberry Jam or Seedless Raspberry or what ever flavor you like. Chocolate is really great too!
 
Links for Krumkake irons(you really want a non-stick one!): http://www.bedbathandbeyond.com/product.asp?sku=17849727&utm_source=google&utm_medium=organic&utm_campaign=shopping
 
http://www.sears.com/shc/s/p_10153_12605_SPM5749862403P?sid=IDx20101019x00001a&ci_src=14110944&ci_sku=SPM5749862403
 
http://www.lefsestore.com/electrickrumkake.html

Tuesday, November 8, 2011

The Goro Experiment

This year I broke a tradition of not traveling on Labor Day weekend. I hate the traffic and all the crazy drivers...but I was offered a chance to take a bus to Scan Fest in Vasa Park at Budd Lake, NJ. The last time I was there my daughter was about a year old...she is now 25!  Anyway while I was there I found a Goro Iron and it was on sale for half price! I have wanted a Goro iron for a few years now so I was really excited at my find.


 I only had made Goro once a few years ago when I borrowed an iron from a friend at the Son's of Norway. So now I was on a quest for a good recipe for Goro! I found one again  by , on about.com.
 A direct quote form Ms. Diehl  "So few people cook Norwegian goro "crackers" nowadays that they can become a signature gift for cooks who take the time to bake them for friends and teachers during the holidays. They are sort of a cross between a cookie, a cracker, and a waffle – not too sweet, and quite possibly the most beautiful of all Scandinavian baked goods."


So I set out to try her recipe. I made a few changes but I think this is the one I will be using.


Norwegian Goro – Cardamom Crackers


Prep Time: 20 minutes


Cook Time: 10 minutes

Total Time: 30 minutes

Ingredients:

•3 eggs

•1 cup sugar

•1 Tbsp. vanilla sugar (or 1 tsp. vanilla)

•1 cup whipped cream, whipped to firm peaks

•1 cup butter, melted

•2 Tbsp. brandy or cognac ( it is listed as optional but definitely add it)

•6  cups all-purpose flour

•1 tsp. freshly ground cardamom
Preparation:

Trace a rectangular pattern the same size as your goro iron onto parchment or other paper; cut out. Spray goro iron lightly with cooking spray and heat, closed, over medium-high burner until a drop of water sizzles on the surface when opened.


Beat together three eggs, sugar, and vanilla sugar (or vanilla). Fold in whipped cream and melted butter. Stir in cognac, if using. Sift together 6 cups of flour, cardamom and cinnamon, then mix into batter. Add additional flour, if needed, until dough is very firm (it should be about the consistency of pizza dough).

Separate the dough into thirds. Refrigerate the dough you are not using. Take the 1/3 of the dough and roll  on a  lightly floured surface to a 1/8" - 1/16" thickness( I found 1/8 to be a bit thick) Place paper pattern on dough and cut squares the size of your goro iron. Stack keeping separated with wax paper and put in refrigerator. repeat with remaining dough.
Transfer each dough square to the goro iron, close iron, and cook the first side for approx 2 to 2.5 minutes,pressing the iron's handle together lightly to impress pattern upon the cracker . Flip iron and cook for an additional 2- 2.5 minutes, until both sides of cracker are golden brown. If you are rolling out to 1/16 I would check the cookie at one minute. This is just a guide to cooking times it all depends on the thickness you roll them out to and the temp you are cooking them at.

Transfer cracker to rack to cool;immediately, cut into the individual sections and trim off outside edges (if desired). Repeat process with remaining dough till all cookies are done.
Freeze or store in an airtight container.

Yield: Approx. 48 goro cookies.


The link to the orginal recipe by Kari Diehl: http://scandinavianfood.about.com/od/cookierecipes/r/Goro.htm